Collecting and Storing Seeds for Beginners
Sharon A., Horticulture and Natural Resources Agent
Saving and Sowing Seeds from Your Garden
Saving and sowing seeds from your own garden is a rewarding project that saves money while adding a personal touch to your landscape. It is a low-maintenance activity that can be done during the fall and winter months, and collecting seed from native plants provides the added benefit of experimenting with new species at little cost.
Harvesting and Storing Vegetable Seeds
When harvesting vegetable seeds, it is best to focus on self-pollinating or open-pollinated plants. Seeds
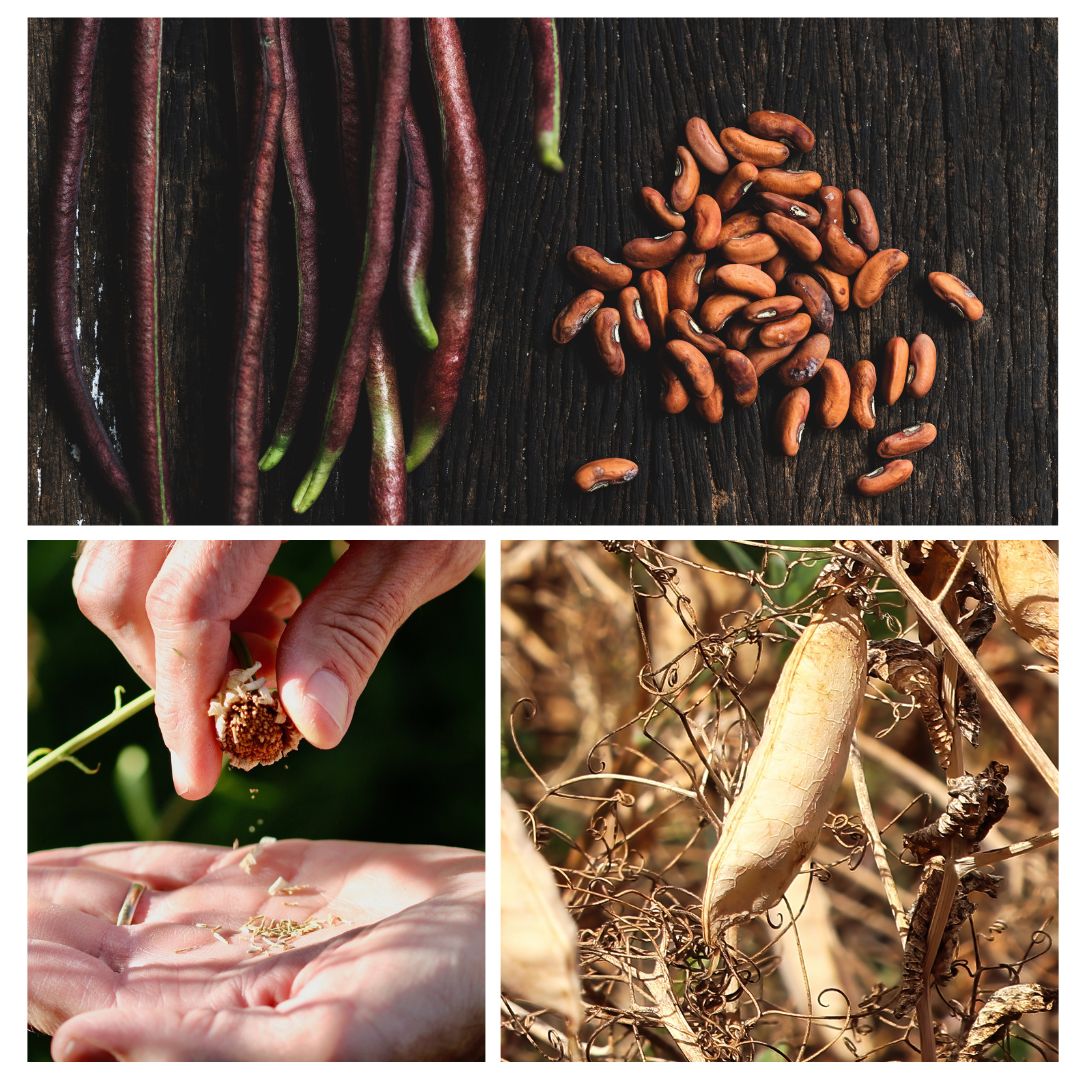
from hybrid varieties are often unpredictable; while they may germinate, they will not grow true to the parent plant and will likely display a mix of traits. Reliable vegetables to start with include peppers, beans, and peas, as they require little preparation before storage.
Allow peppers to ripen fully on the plant until their skins begin to wrinkle. Remove the seeds, spread them out, and let them dry thoroughly. For peas and beans, leave the pods on the plant until they begin to brown. Once dry and rattling inside the pod, harvest them and let them continue drying indoors for about two weeks. Afterward, shell the seeds for storage.
All seeds should be stored in a sealed container in a cool, dry place. A temperature between 32° and 41°F is ideal, making the refrigerator an excellent option. To prevent moisture damage, include a desiccant such as silica gel or powdered milk wrapped in cheesecloth. Always label your containers with the seed type and collection date—memory fades quickly when seed saving becomes a yearly habit.
Harvesting and Storing Native Plant Seeds
When collecting native plant seeds, harvest responsibly. Always obtain permission when collecting outside your own yard, never harvest rare or endangered species, and take no more than 10% from any wild population. A good alternative is to ask neighbors or friends with native plantings if you can collect a small amount of seed.
Native seeds are typically ready from October through November once they have dried on the plant. A simple test is to see whether seeds separate easily from the seed head or rattle inside their pods. Inspect seed heads for insect damage before harvesting, then clip and collect them in labeled paper bags. After harvest, seeds must be separated from the chaff. Rubbing seed heads over mesh screens of decreasing size is an effective way to remove debris and clean the seed.
Once separated, store seeds in sealed containers in a cool, dry location. Small coin envelopes are ideal for limited amounts. Many native species require cold, moist stratification to germinate, a process that mimics winter conditions in nature. Stratification can be achieved by sowing seeds outdoors in December or January, or by storing them in the refrigerator between moist coffee filters or paper towels sealed in plastic bags. Throughout stratification, seeds must be kept moist, and any that develop mold should be removed promptly.
Some native plants, such as warm-season prairie grasses, purple coneflower, wild bergamot, and asters, do not need stratification and can be sown directly. For more information on the specific stratification requirements of individual native plants visit the Prairie Moon Nursery website.
A Rewarding Gardening Habit
Saving and sowing seeds is more than just a practical way to save money—it is an opportunity to engage with the natural cycles of plants and deepen your connection to your garden. Whether you are storing vegetable seeds for next year’s harvest or experimenting with native wildflowers, seed saving turns fall and winter into seasons of quiet preparation and anticipation.
References:
Winter Seed Sowing, Winter 2022 Extension Newsletter
Rutgers NJ Ag Experiment Station: Native Seed Propagation
This article is from the 2025 K-State Extension Douglas County Fall Newsletter publication.